 |
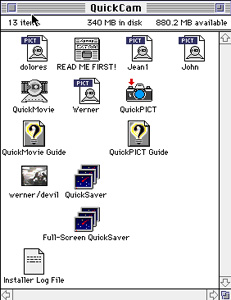
Go to the QuickCam Folder and click on it to open it up. Then click on the QuickPICT icon. |
| Jean LeLoup & Bob Ponterio SUNY Cortland © 2007 |
|
|
Go to the QuickCam Folder and click on it to open it up. Then click on the QuickPICT icon. |
| This opens the live camera window. Position the QuickCam so that it captures the picture you wish and then click on "Take picture." | 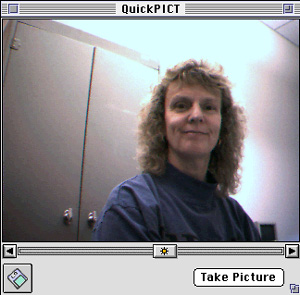 |
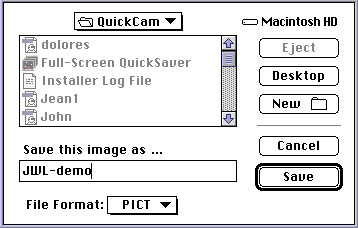 |
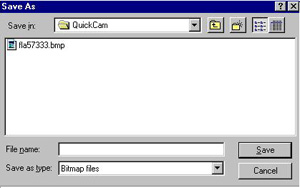
This will bring up the dialog box from which you can save your photo. Name your picture and save it as a PICT, TIFF, or JPEG file in the appropriate folder. |
| Go to Windows Explorer or use the Start Menu to find Connectix QuickCam, then QuickPict and open the program. This will open the live camera window. | 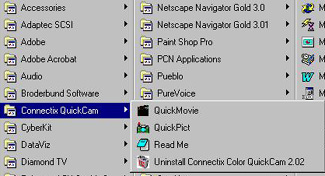 |
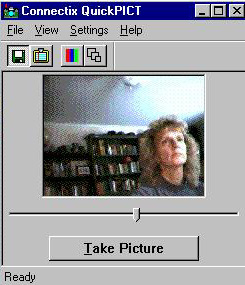 |
Position the QuickCam so that it captures the picture you wish and then click on "Take picture." |
| This will bring up the dialog box from which you can save your photo. Name your picture and save it as a Bitmap, PICT or JPEG file in the appropriate folder. |
 |
| Current webcams come with proprietary software and attach to the computer via a USB connection (high speed serial connection). | 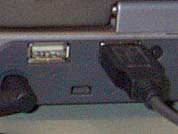 |
 |
The software manages taking single photographs and also (usually) capturing short video clips. It generally allows you to set the image resolution (size) as well as other characteristics of the images. Once you have taken a photo, the image file will be stored in a predetermined locatioin on your computer's hard drive. As is always the case, be sure to keep track of where the image files are stored. Move photos that you have taken to the folder for your project and change the file name to something meaningful so you don't lose track of what it is (image213 is not a good name!). You probably will want to edit the photo in an image editor such as Photoshop to crop out unneeded areas of the image and to compress it for the web. |