Jean LeLoup & Bob Ponterio SUNY Cortland © 2009, 2017 |
Taking the photos
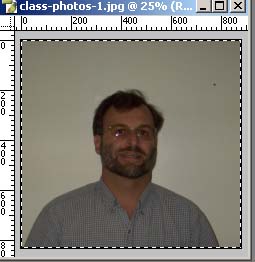
Use a digital camera or smart phone to quickly take photos of all of the students in the class. Either take the photos in alphabetical order or just have students write their name after each photo is taken. This gives you a list of names in the same order as the numbered photos from the camera. Place the students in front of a plain background, and be sure to use the same background and the exact same distance from student to camera for each photo. It is also best to set your camera to always use the flash or never use the flash. All these techniques help maintain consistent lighting and other image characteristics. Once you have all of the photos on your computer, having taken them all the same way allows you to process them all identically and get good, consistent results. Note that my sample photo is not very good. It is underexposed and is not in the right format. The next step is to edit the photos in Photoshop to fix these problems. |
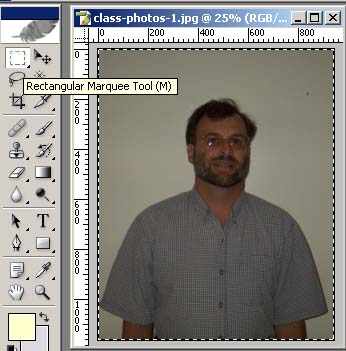
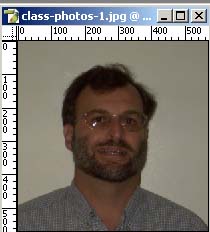
In order to save time by processing all the photos in the same way, we need to have photos that are similar in four ways. We used the same background and lighting for all the photos as well as the same distance between the student and the camera for all the photos. This gives us the same overall exposure, the same resolution, and the same basic subject size (IOW everyone's head is about the same apparent size). However, we probably have not centered each student exactly the same way. You can practice on this image if you wish: Practice image Center: We will center each photo on the student's nose by using the Rectangular Marquee Tool. Usually we select a rectangle by dragging the cursor from one corner of our selection to the opposite corner. This time we will make our selection differently. Hold the ALT key; point to the student's nose (or mouth or chin if you prefer, as long as you do the same thing for each one); click and drag the cursor diagonally to select a rectangle centered on the student's face. Be sure to select more than you actually want, both horizontally and vertically, for each photo. This makes it easier later to crop them all to the same size. Crop: Once you have selected the area you want using the marquee, crop the image using the Image/Crop menu item. Prepare each student's photo in this way. Note that it is a good idea to work on a copy of the photos so you can always start again if you make a mistake.
|
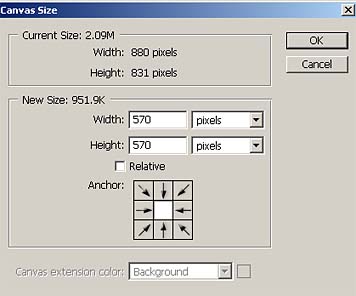
A good way to crop is to reduce the Canvas Size to set how much is in each photo. This allows us to crop all photos to the same size. Then reduce the Image Size so they are all the same overall size and fit in our chart. Finally Save the photo.
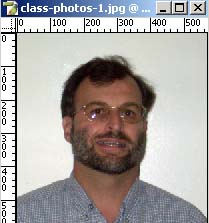
First play around with the Image/Canvas Size menu item to decide just how much of the person you want in your photos. Canvas Size will crop what I don't want in the picture. Perhaps I want to include a little bit of the student's shoulders and all of their hair, and I also want the image to be square. After some experiments with the selection tool, I could decide that, for my photos, with the resolution I used in my camera at my particular distance, the best Canvas Size is 570 pixels by 570 pixels. Depending on the settings and resolution of your digital camera and the distance you were standing from your students, your preferred canvas size might be very be different. Save the photo as a JPG or PNG file. |
Optional: Next, if we wish, we could improve the exposure using the Image/Adjustments/Auto Levels menu item. You can tweak the exposure levels with the Levels command, but Auto Levels is much faster and usually works well enough for the minimal quality we need here. In fact, with any luck you can just skip any exposure adjustments because your image quality should be good enough to begin with. |
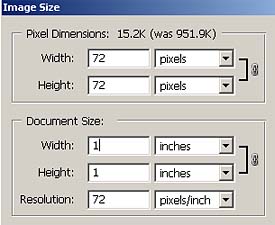
Finally, we will reduce the Image Size down to about 1 inch so we can put all of the students in a class on a single 81/2 by 11 page. Use menu item Image/Image Size. Change the Document Size width to 1 inch. The height will change automatically because width and height are linked when Constrain Proportions is checked. With a larger page (81/2 by 14) or a smaller class size, I might be able to use 1.2 inch square photos. As they say, your mileage may vary. Pick whatever size you prefer, but the key is to do the same thing to each photo. |
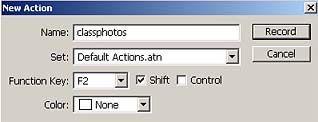
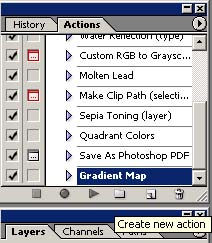
Actions (Only for the more advanced full professional version of Photoshop) In the full version of Photoshop (not Elements), you can record your steps and apply them to a series of photos. A Photoshop Action is like a Macro. It allows us to record a large number of modifications to an image, store those processes on a key, and then apply the same processes to another photo by pressing that key. If the Actions window is not open, you can select Window/Actions to make it visible. When you are ready to begin recording, press the Create New Action button, give your button a name, and place it on a function key. We'll use Shift-F2. When you are ready to begin recording your steps, press Record. |
Of course, you need to save your image. Remember that you performed all these steps with Actions recording your every move. Now you can press the Stop button on the Actions recorder to stop recording.
To apply the same steps to your next photo, just make sure it is your active window (you have already cropped to center on the nose) and press the Shift F2 key (the one that we previously defined). The photo will have its canvas size, it's levels, and its image size adjusted, and it will be saved. In a few seconds, all of the photos can be processed. If you save your Action, you might even be able to use it again next year without ever going through all those steps again.
A Class List in MS Word
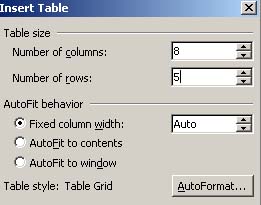
We will use Microsoft Word to make the actual photo class list. Open a Word document, and change from portrait to landscape orientation on the File/Page Setup menu. Create a Table using the Table/Insert/Table menu item.
We will make a table with 8 columns and 5 rows (enough for 40 student), but you may want to make your table just large enough for your biggest class size. Of course, the more students you put on a page, the smaller everything has to be to make it all fit.
|
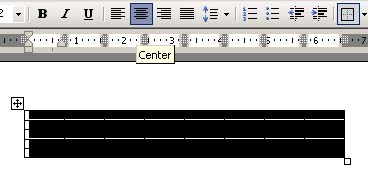
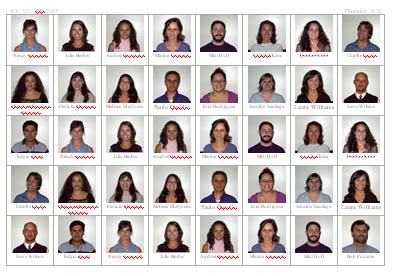
Next we will make all of the cells in the table centered by selecting all of the cells and pressing the Center button. Naturally, you can use Left Justification, which is the default, if you prefer. We are now ready to type the name of each student in the table alphabetically from left to right. If you have a class list on your computer, you can copy and paste these names. Adjust the font size of your names for a good fit. Remember that you can change them all by selecting them all and choosing your new font properties. Finally copy the student photos into the cells for each student. |
When all of the photos and names are in your table, you can select the table and use Table/Auto Fit/ Distribute Rows Evenly and Distribute Columns Evenly to make sure the rows and columns are all even. To label your class list, use the View/Header and Footer menu to include the class name, time or period, year, etc. Additional sizes on 81/2 by 11 paper: You may need to adjust Page Setup Margins in some cases. to make enough room on the page. |
Write down all of the settings that you prefer, including image size, table rows & columns. Next time you need to make a new class list, copy the first one as a template so you don't need to start from scratch.
Seating Chart
You can change the class list into a seating chart by making the table reflect your seating arrangement. Outline seats by selecting table cells and changing their Borders and Shading under Table Properties.
Class photos template (Word document) - Right-click to download