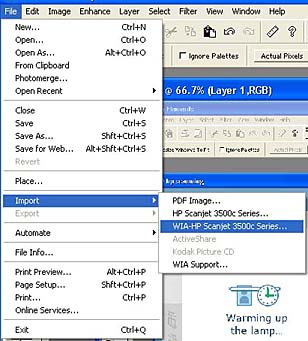
In today's world of digital cameras, phones and Google images, teachers have less and less need of photo scanners. Sometimes, however, the ability to scan an image in order to include it in a presentation using authentic materials can be quite useful. This can allow you to prepare an online lesson using a digitized image from a magazine, a printed photograph, a flyer, packaging from products sold where the target language is spoken, etc.
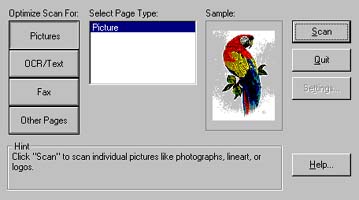
Scanning a photo on a flatbed scanner involves a number of basic steps that are essentially the same no matter what particular scanner and software are used. As light is shone on the photo, photoelectric cells capture the red, green, and blue light (RGB) reflected from individual points of the image. Each point is a pixel (picture element), and the resolution of the image is measured in pixels per inch. The total number of pixels in a rectangular digital image can be found by multiplying the horizontal width in pixels by the vertical height in pixels. So an image that is 600x800 has 600 dots along one side and 800 dots along another. If it was scanned at 120 dpi, that means that one inch running along the original photo was converted to 120 dots in the scanned image (or 14,400 dots in a square inch).
Every pixel in a color image can be represented by three numbers indicating the brightness of the red, green, and blue components of the color, and in fact, each pixel on a computer screen (or your TV - whether CRT, LCD or plasma) is made of three tiny dots, one red, one green, one blue. Our eye then interprets various combinations of these three dots as the millions of colors that we perceive. The way colors are mixed to fool our eye into seeing nuances of color or perceiving a higher resolution than is actually present can be mathematically quite complex, but it is not essential to understand Floyd-Steinberg Diffusion Dithering and other such complexities to use them.

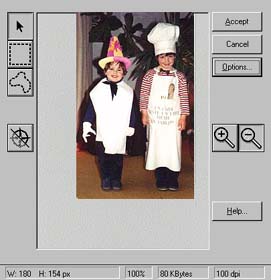
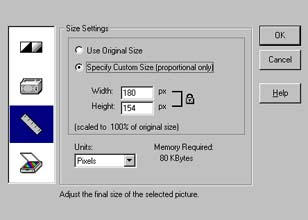
The quality of an image will depend on the resolution (the number of pixels used), the color depth (the number of possible color values for each pixel), the effectiveness with which the colors are used to represent the range of brightness and contrast in the picture, and any loss of quality caused by the compression of the image. For these reasons, the two keys to successful scanning are to scan the image at the largest resolution (size) that you will need and to capture with a brightness and contrast that look best to your eye.