| Jean LeLoup & Bob Ponterio
SUNY Cortland © 2007 |
In this lesson we will capture a single shop video clip and trim it to set the entry and exit point. Video can be quite complicated, but newer software is making it more and more manageable all the time. There are many possible sources for a video: webcam, digital camcorder, analog camcorder. And these might be connected to a computer in a variety of ways: analog video capture card, video-in on your main video card, external video capture devices (Dazzle), s-video, USB or Firewire connection. We will be using a Firewire connection (IEEE-1394) to a digital camcorder capture a video signal in digital format, but we will explore some of the other options as we go. Two programs available on our system can use this remotely control a digital camcorder through a Firewire connection and capture video, the Windows Movie Maker and Adobe Premiere (or Premiere Elements) . We will be using Premiere first and looking at Movie Maker later.
An analog video signal can come from any of several locations (video camera, videotape recorder, DVD) and enter most video capture devices through its RCA or S-Video ports.
| RCA cables are common in audio and video equipment. Don't forget to make audio as well as video connections and to plug in your speakers ;-) |
| Stereo mini-plug | Mono mini-plug | 1/4 inch stereo plug |
A Firewire connection or DV in/out (digital video) is a high speed digital link that lets a computer communicate in both directions with a digital camera. It can do many other things as well, but we're only interested in its use for digital cameras for the moment. It will allow you to move the videeo and audio back and forth between the machines and also control one machine from the other. The two ends of the cable are different. The four-pin connector attaches to the camera, and the six-pin connector plugs into the computer. (Though some computers may have a 4-pin Firewire connector.) Your camera may also have a USB cable and this may or may not work for video transfer. Some video cameras use USB to transfer only still photos. |
A typical Firewire (IEEE-1394) card for a PC with 6-pin connectors
| A digital camcorder stores its video and audio in digital format on a tape or disk. Analog cameras store the signal in a format that is more like a TV signal. Copies of a digital video file are exact duplicates, but copies of an analog signal always show some degradation. |
Capturing Video in Premiere
Adobe Premiere is a very powerful and expensive program, and like all very powerful programs, there are a LOT of possible settings that can lead to confusion. We will see that Windows Movie Maker, though capable of doing much less, is much easier to use.
All work in Premiere must be done in a project. The first thing you need to do after launching Premiere is to create a new project. If you are not sure what size to use, you can select a general purpose preset mode: Presentation 160x120. A project window will appear. This is where individual video clips for the project will be kept.
Assuming that the video camera is properly set up and turned on, cables are connected to the Video In or S-Video port, or DV in/out for a digital Firewire connection, and a microphone is connected to the microphone in jack, we are ready to roll. Test all equipment to verify light intensity, focus, background, and sound level. Then do a short test to be sure that the video capture board is working.
Select the Premiere menu item File / Capture / Movie Capture. Right click on the capture window, and select Capture File... to use a preallocated file in the root directory. This will tend to be more efficient because you will use the same file each time, but you could also use a new file each time if you prefer. The latter solution could create problems if memory is low or the disk fragmented. Make sure that the size of any preallocated file is sufficient. If you have enough RAM, it is even more efficient to Capture to Memory.
Right click on the capture window again to select the Video Source. depending on whether you are using RCA Video or S-Video inputs. You may also need to adjust brightness and contrast here. At this point you should see the video image in the capture window. If you are capturing from recorded tape, you will see the video after you press Play on your VCR.
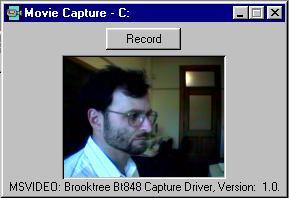
Right click on the capture window and select Record Audio. Under Audio Recording Options, select 8/16 bits and sample rate depending on your needs. For a test file you may use 16-bit, 11kHz.
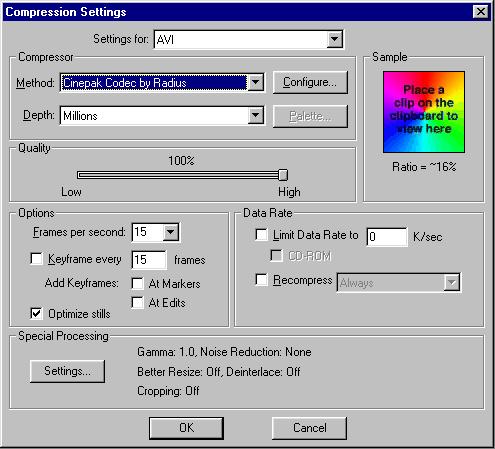
Right click on the capture window and select Recording Options. Choose a frame rate (we will use 15 frames per second (fps). Under Video Format, select the image that you wish. You may also have to select a compressioin option depending on the video capture board. We will use no recompression. In some instances, further processing may require uncompressed video input.
When ready, press Record
1/2 second before you wish to begin. Click again when recording is done.
Give your clip a name when saving it via the menu item File
/ Save.
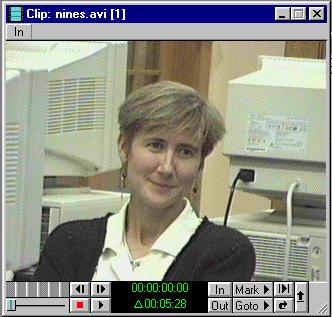
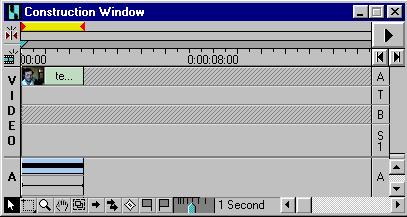
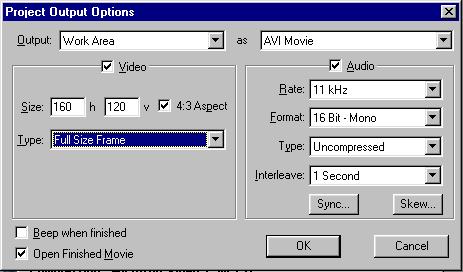
Setting IN and OUT points
Using your digital still camera
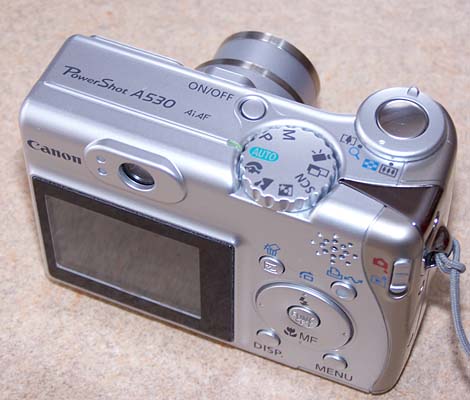
Most of today's digital still cameras have a video setting. You can film short clips and download them to your computer just as you do your images. because of their small size, stability tends to be difficult to control when trying to hold these cameras cameras still for video. It's even harder if you try to pan or zoom. A tripod or other stable surface can help keep the camera steady.
Keep in mind that your editing and use of any video that you generate will be simpler if you use the same resolution (width by height) for all of your shots. Plan ahead and shoot all of your video in the size that you will be using in your final product.
For more information: