Instructional Video - Windows Movie Maker & Powerpoint
We will use Powerpoint and Windows Movie Maker to create a short instructional video. This is something that you might use in a flipped classroom or to provide absent students instruction in missed material in your own words. It can also be a good review for students preparing for their test.
Always begin by preparing the lesson as you would any lesson plan. Introduce the topic, plan our the steps in the instructional process, choose your visuals, sample language, animations, images, etc. Some people prefer to write out the text narration ahead of time, others prefer to speak directly to the students as if this were a class.
Don't forget to leave enough quiet time in your instructional video for students to absorb what you are saying, but not so much that a silence might feel awkward. Think about how you will bring the lesson to an natural end, perhaps with a recommendation about how to practice a grammar point or what the next step should be.
You can also think of the instructional video as a project using a storyboard. Think of each shot as a scene with a purpose. The shots should go together to communicate your main idea. What visuals can you create to best get your idea across to the students? Do you want to add sound other than your own narration? Do you want to use animation? Video of yourself? A combination? If it is a cultureal lesson, do you have materials that convey your cultural concepts? For language, will you use good authentic materials?
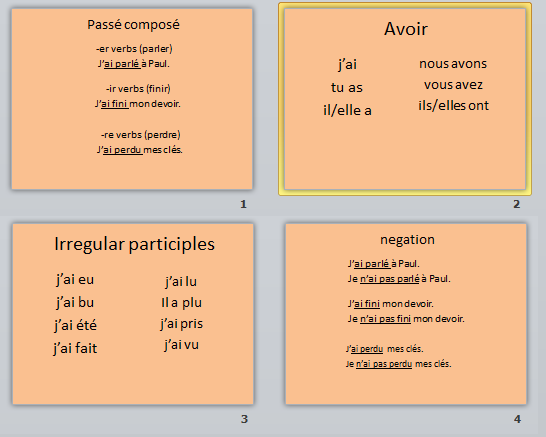
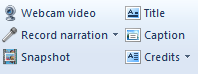
We will use a simple example showing how to make sentences in the past tense in French using the passé composé tense. We will create some simple visuals using Powerpoint. These individual Powerpoint slides can be saved as images. They can then be incorporated into a Windows Movie Maker video project. We can use Movie Maker's built in Record Narration tool to dub in the sound. Movie Maker's Webcam Video tool can provide video of the instructor talking to the students.
Our Powerpoint slides show the main components of the tense. We have the auxiliary verb conjugation, the regular and irregular participles, and the formation of the negation.
We will begin with a video title to name the lesson. We are using a collored background matching the color of our Powerpoint slides and black letters that will stand out.
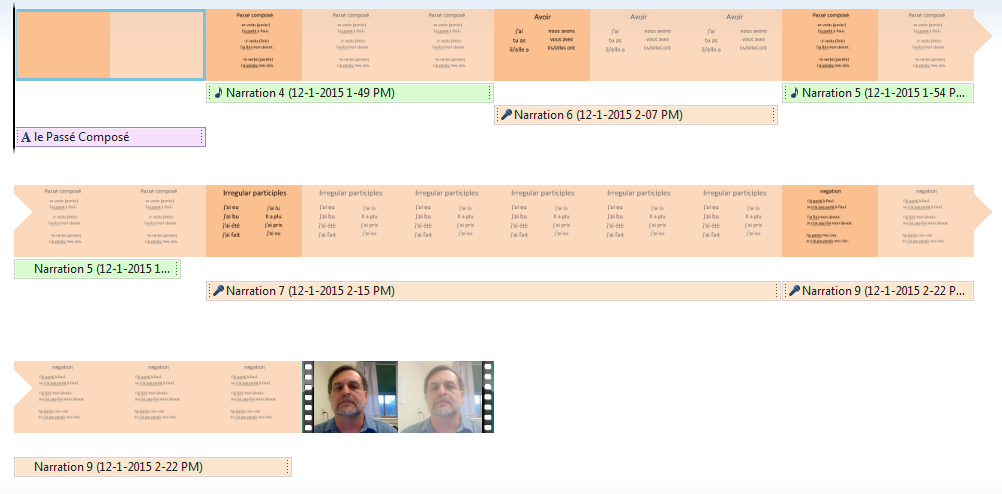
As we insert a slide, we will add the narration for that slide.
We do have to make sure that the time duration of the slide is the same or a slightly longer than the audio. Douple click on the audio to see its length, then double click on the image to change its length.
After we finish each slide, we can save our work and add the next slide. Remember that when you save your Movie Maker project, this is not the actual video, just the project itself. You can return to the project later to make changes.
To end our instructional video, we will include a video of the instructor talling the students what the next video in the series will be about.
If we wished, we could add final credits. If we were using photographic images, we could also add captions over them.
The final step is to save the movie in the format you prefer. Today MP4 is a good choice. If you wish to place the video online, the HTML5 video object is an easy method for placing video in a web page. Here is our cample video.