Jean LeLoup & Bob Ponterio
SUNY Cortland
© 2007 |
Windows Movie Maker comes with Windows XP. It is less powerful than many other programs for digital video editing, but it can handle the basics, it is easy to use, and you probably already have it on your computer. You can use it to edit videos that you have captured with another device, and you can capture analog and digital video with WMM. Let's walk through the process of creating a video with WMM and a digital camcorder.
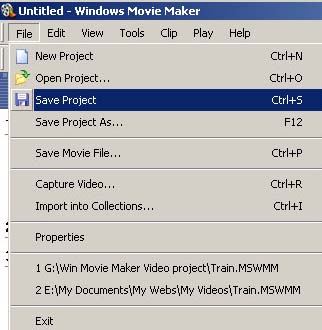 |
Always begin by saving your project with a meaningful name so you can find it later. Save your project from time to time, in case of crashes.
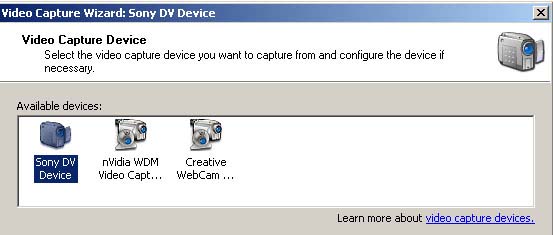
When you plug in your digital camera or use WMM's video capture, you will see the video capture options available on your computer. The example below shows the presence of a SONY digital camera, a video in port on the computer's video card, and a webcam. Any of these could be used to capture video. |
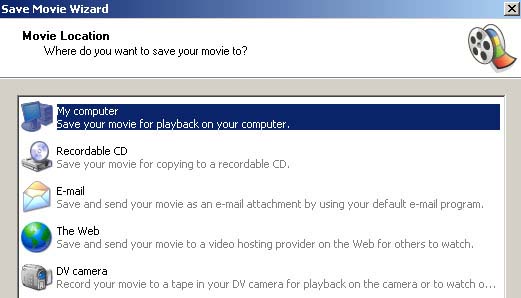
When capturing video, we need to tell WMM where to put the file.

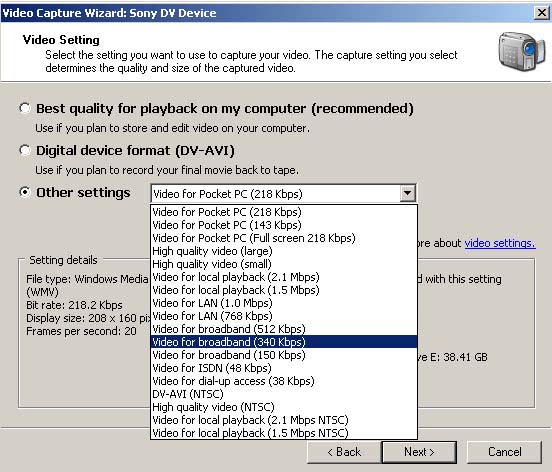
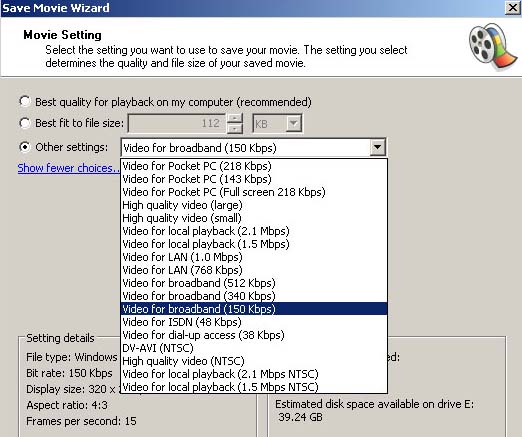
There are MANY possible video settings. WMM uses a wizard to help you make these settings. The kbps and mbps numbers determine how big your video file will be. Smaller files can mean smaller video size or lower video quality, or both. Test to see what size works best for your application, then consistently use this same setting throughout your project.
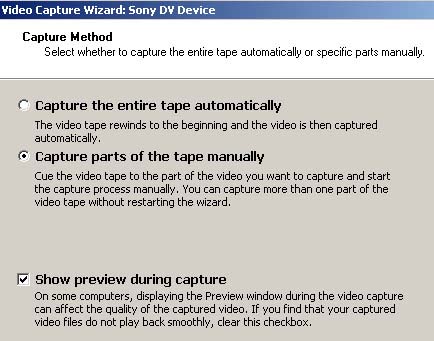
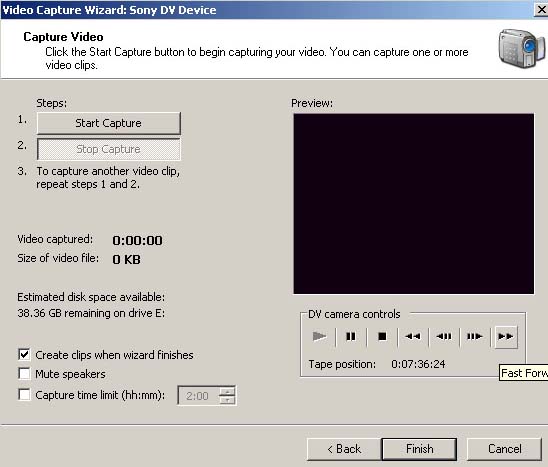
If you have already shot many video clips, you can Capture the entire tape automatically, or you can Capture parts of the tape manually if you don't need the whole tape.
Once everything is set, WMM opens a video capture window that looks like a VCR. You can move around your video until you find the place where you want to begin capturing video. You can capture many clips to one file or capture your clips separately.
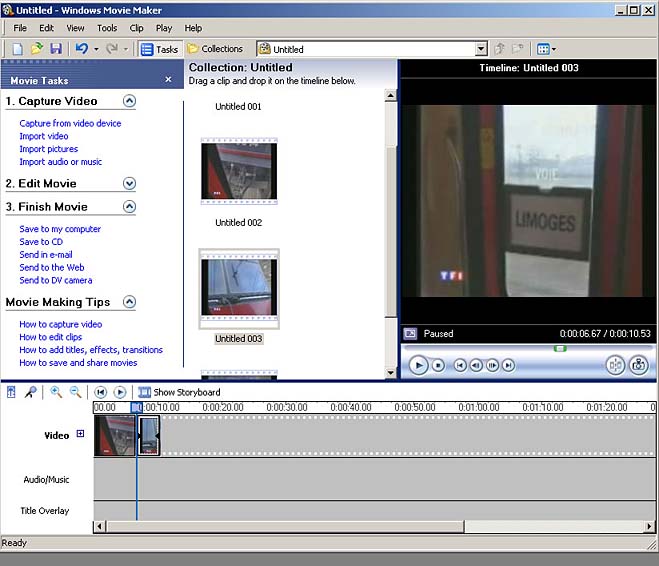
Once your clips are captured, they appear in the WMM editing window. Here you can drag your clips to the timeline to place them as you wish.
| If you wish to experiment with editing a short video file, here is a video, and audio that you can download. |
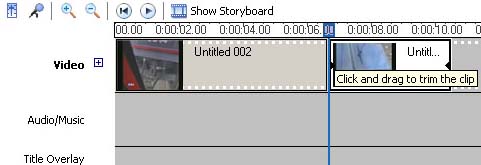
You can also trim a clip by clicking on either end of the clip and dragging to make it shorter.
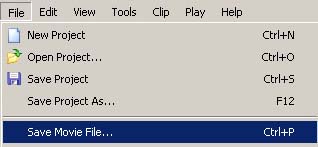 |
Once you have finished editing, you can save the movie. It is best to use the same video settings from start to stop of the project. However, you can also mix settings and save your final video in a different setting if you have reasons for doing so. For example, you might export a video in a smaller size with more compression for placement on the web. You could even save multiple copies in different sizes, one for the web, one for showing from your computer in class, and one for storage on a DVD. |
As always, there is no one right setting for your final video. Try out various settings to see which best suits your current project.
For more information:
Return to Syllabus