In this lesson we will use KompoZer to create a WWW site with Cascading Style Sheets (CSS). Style Sheets are the preferred way to format your web sites. However, they work a bit differently from formatting in your word processor where you directly apply fonts, colors, sizes, or any other style to the text or other page elements. When using CSS, you pre-define various Page (background), Format (paragraph or headings) or Style (user defined) properties for whole classes of page elements and then apply these throughout a site instead of having to format each item separately. In fact, CSS can do much more, but we will be limiting our introduction to a few basics. CSS is more powerful, but it can be a bit more confusing and has a steeper learning curve than word processor type formatting.
This lesson will walk you through the basic steps of setting up a web page using CSS for style. We will see how to save that style and re-use it across other pages in a site. Finally, any change to our Style Sheet will instantly update the style across all of the pages in the site. Note that although we are using KompoZer, the basic ideas are the same in any web design program.
We will first make a new web page in KompoZer and save it in its folder. Since this will be the first or entry page in our site, we will use the file name "index.html". We will plan to use a background color, heading and paragraph fonts, and special text fonts for language examples in all of the pages in the site. We will use CSS rules instead of applying these on a case by case basis.

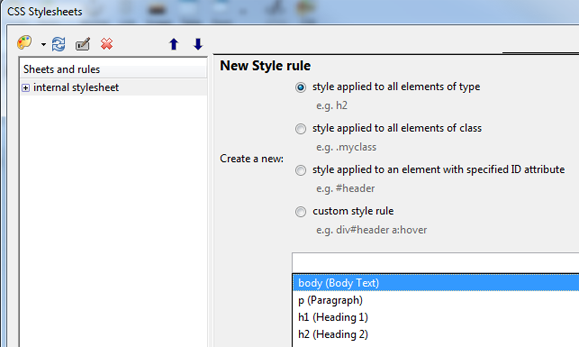
We could first put in some text and then set up the CSS rules to see how they look or first set up some CSS rules and then put in the text. The order doesn't matter. Click on ![]() to open the CSS Stylesheets window in KompoZer. We'll begin by setting up the Body Text and Heading 1 and Heading 2 fonts. We'll create a New Style rule for body (Body Text)
to open the CSS Stylesheets window in KompoZer. We'll begin by setting up the Body Text and Heading 1 and Heading 2 fonts. We'll create a New Style rule for body (Body Text)
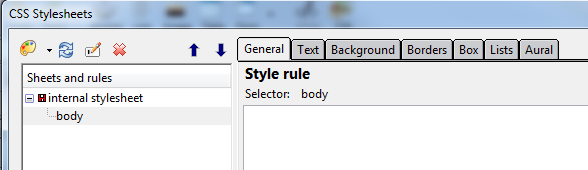
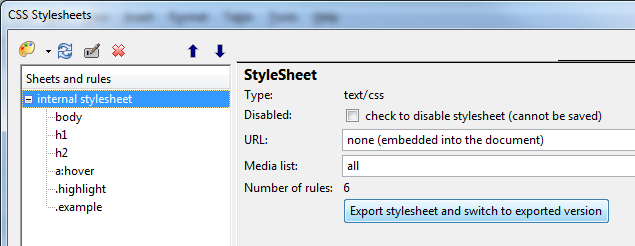
Once we have created the body rule, we will see body in the left hand column under internal stylesheet.
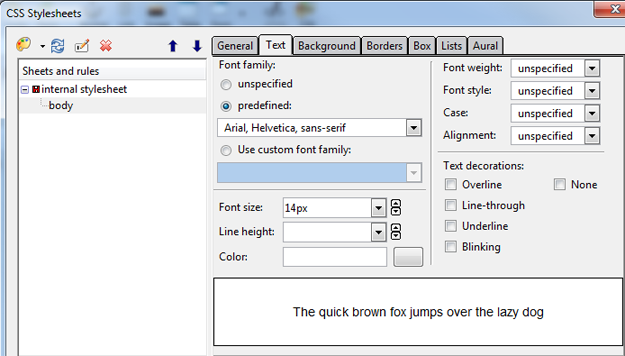
Selecting the Text tab gives us access to all of the text formats available for the body of the web page. We have selected the predefined Arial, Helvetica, sans-serif font and set the font size at 14px (pixels). Now all text in the web page body will have this font and size.
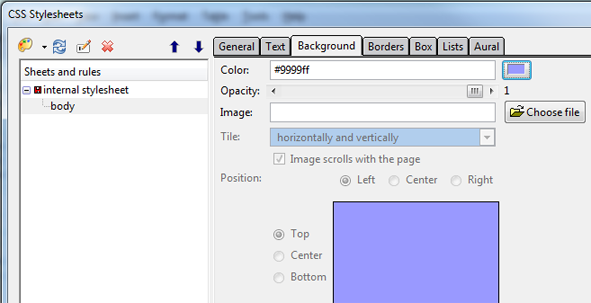
On the Background tab in the Stylesheet, we will select a page background color.
 |
Clicking on the style pallet at the top left in the CSS Stylesheets window will let us create a new style rule. |
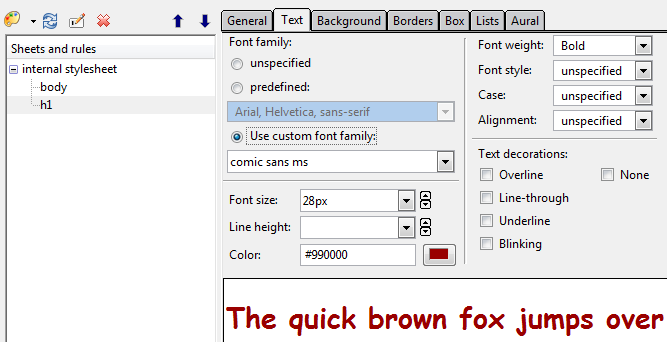
We will change the Heading 1 font (h1). This will set the properties for all text that receives the Heading 1 format. We will use a custom font family and select Comic Sans. The size is 28px and Font weight is Bold so that all Heading 1 text will look like this. We'll also set up Heading 2 (h2) to be the same except a bit smaller, 22px.
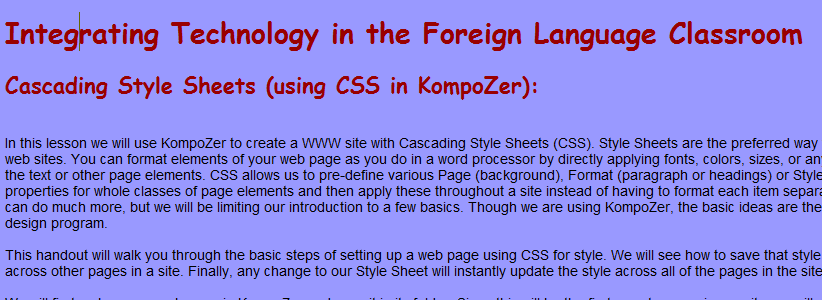
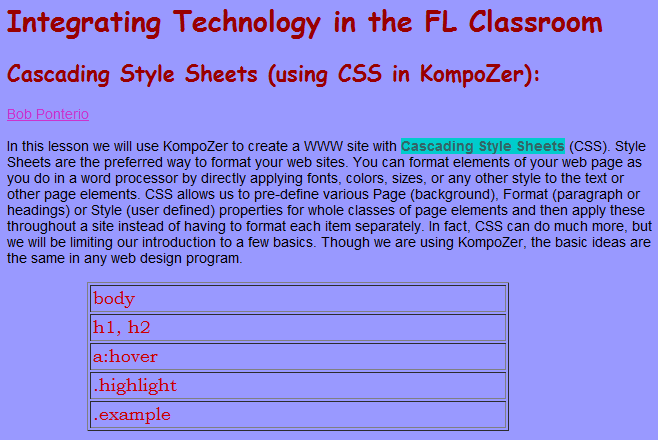
Applying these formats here below we can see that the main page heading is set to Heading 1 format; the subtitle is set to Heading 2, the body of the page is using the Body format, and the page background is set, all as defined in our style sheet.
We can add a custom style rule for a:hover that will let us set a special color for links while the cursor is hovering over them.
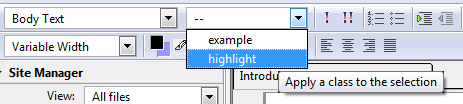
Add a style applied to all elements of a class. This lets us make up any class name and define its style. We'll set up a style for highlighted text and another for anything used as an example. We can call these classes anything we want, so we'll call these two .highlight and .example. We'll give .highlight a font-weight of bold, a new font color and a separate background color. We'll give .example the bookman font, a larger size and a different color. Now we can select our text and use the Style dropdown box to apply these new class styles that we have created.
Hdere below we can see our sample text with these additional styles applied.
Switching to the Source Code view, we see that these CSS Style rule definitions are located in the head area of our web page source code.
<style type="text/css">
body {
font-size: 14px;
font-family: Arial,Helvetica,sans-serif;
background-color: #9999ff;
}
h1 {
font-family: Comic Sans MS;
font-size: 28px;
font-weight: bold;
color: #990000;
}
h2 {
font-family: Comic Sans MS;
font-size: 22px;
font-weight: bold;
color: #990000;
}
a:hover {
color: #cc33cc;
}
.highlight {
font-weight: bold;
color: #336666;
background-color: #00cccc;
}
.example {
font-size: large;
color: #663333;
font-family: Bookman Old Style;
}
</style>
Having the rules in the page head area is fine for a single web page. If we are going to use the same styles to provide consistency across multiple pages in a site, we can store the CSS rules in an external file that is shares among the pages in the site. Open the Stylesheet window and Export stylesheet and switch to exported version.
We have given the exported stylesheet the name project.css. Now any page can link to this CSS file and use the style rules contained in it. Looking at our Source Code, we see that a <link> tag has replaced the actual CSS Style Rules. Copy the following code to any web page head area to set up the link to the project.css file that has been stored in the same folder with the web page.
<link rel="stylesheet" href="project.css" type="text/css">
Naturally, if you will use the actual file name that you have chosen for your own project. Once the CSS file has been exported, you can continue to edit or add to the styles in the CSS file in the same way. The updates will be stored in the file, so now, any changes will be applied to all of the pages that use this style sheet.
CSS has a steeper learning curve and can be more confusing at first, but in the long run it is more efficient because it is so much easier to use after the initial set-up and because it makes it so much easier to change styles across a web site.